
Introduction to POS BOGO
POS BOGO helps your POS system automatically recognize and apply eligible “Buy One Get One” promotions during checkout. It keeps your in-store discounts consistent with your online offers and saves time for your team. Let's discover how to set up POS BOGO!
Step 1: Create a GWP campaign
Create a GWP campaign in the BOGO app. In the Publishing channel section, select POS or Both (POS and Online store).
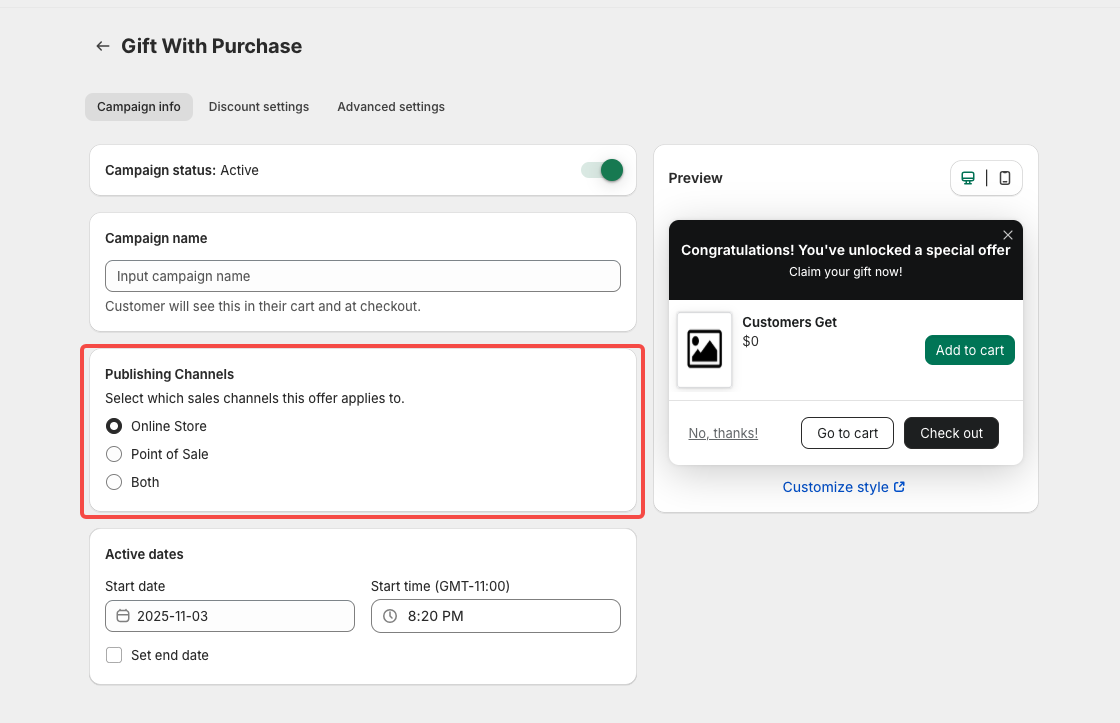
You can follow this article for a detailed guide: How to set up a Gift with Purchase (GWP) campaign.
Step 2: Configure in Shopify POS
- Open your Shopify POS app.
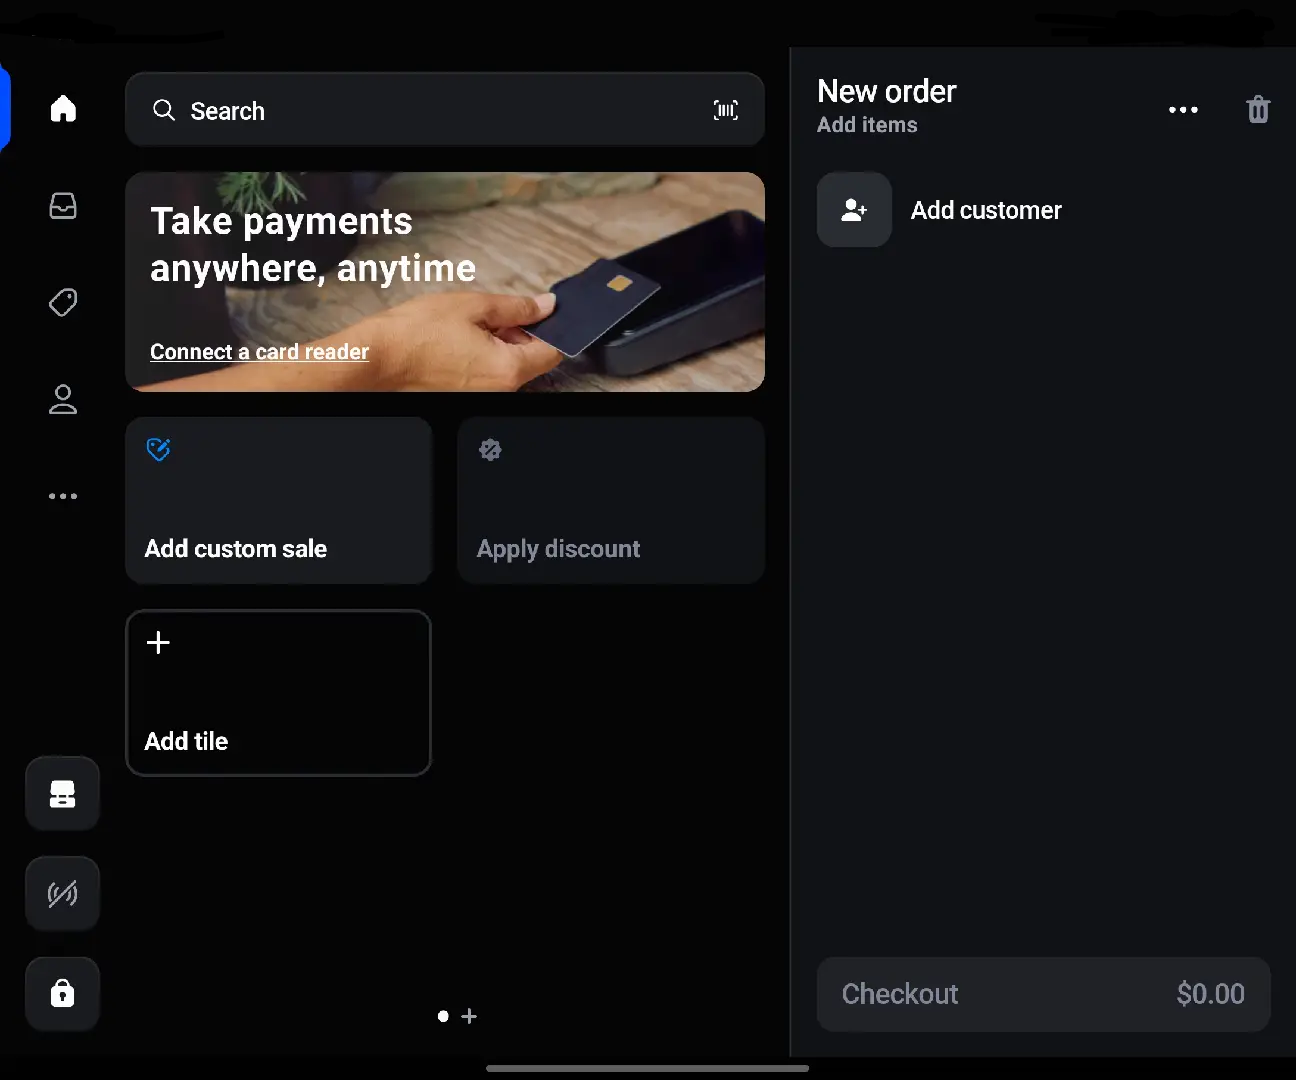
- Tap Add tile.

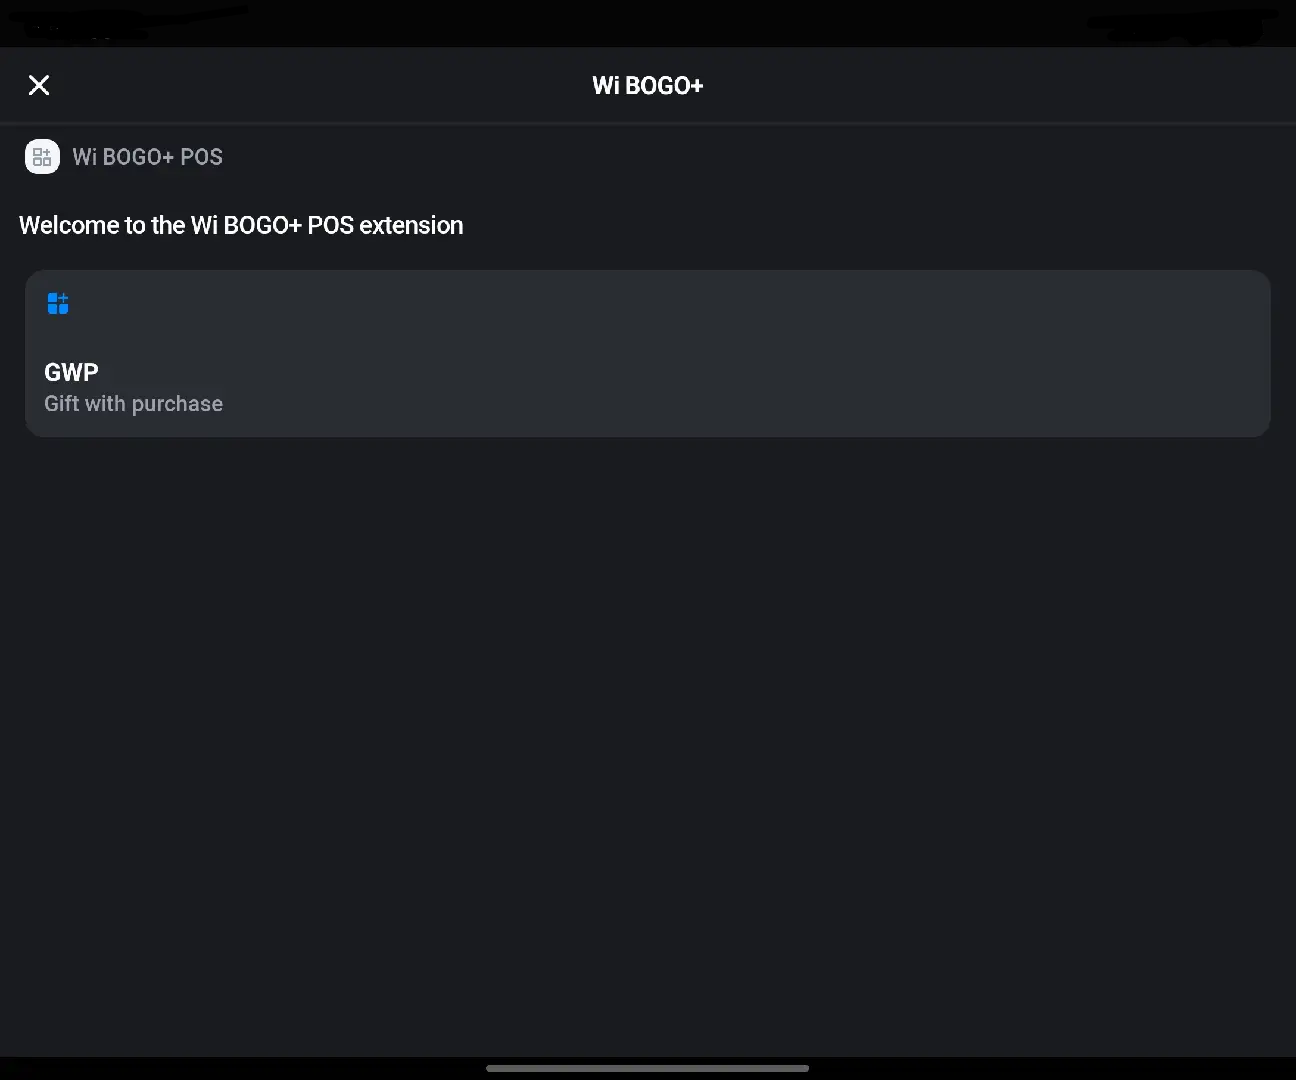
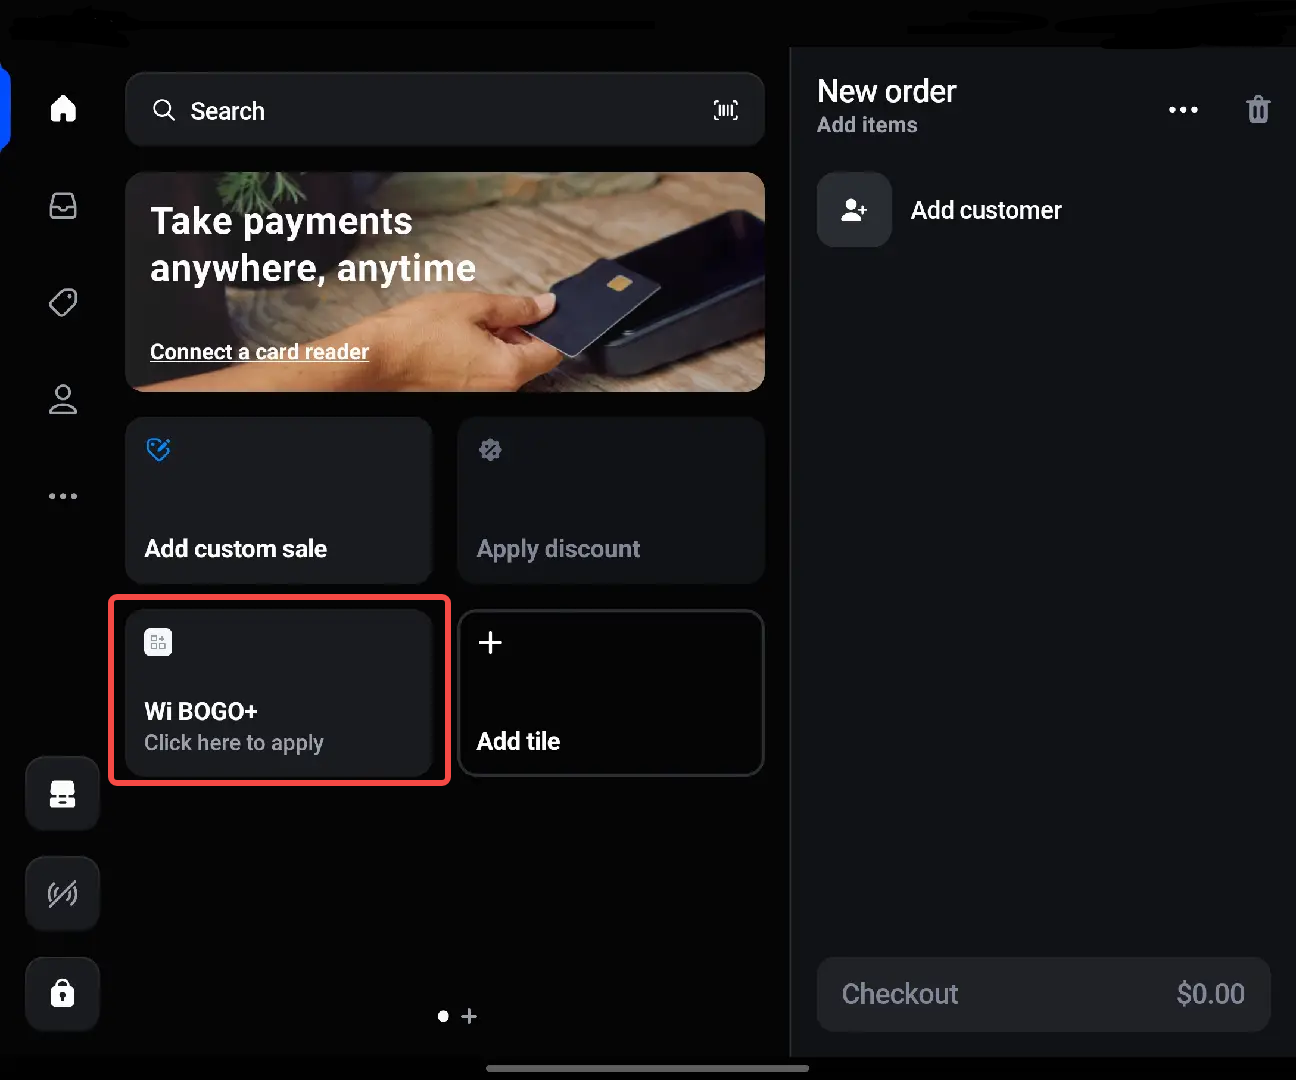
- Select App → BOGO GWP. This will create a new BOGO GWP tile on your POS home screen.
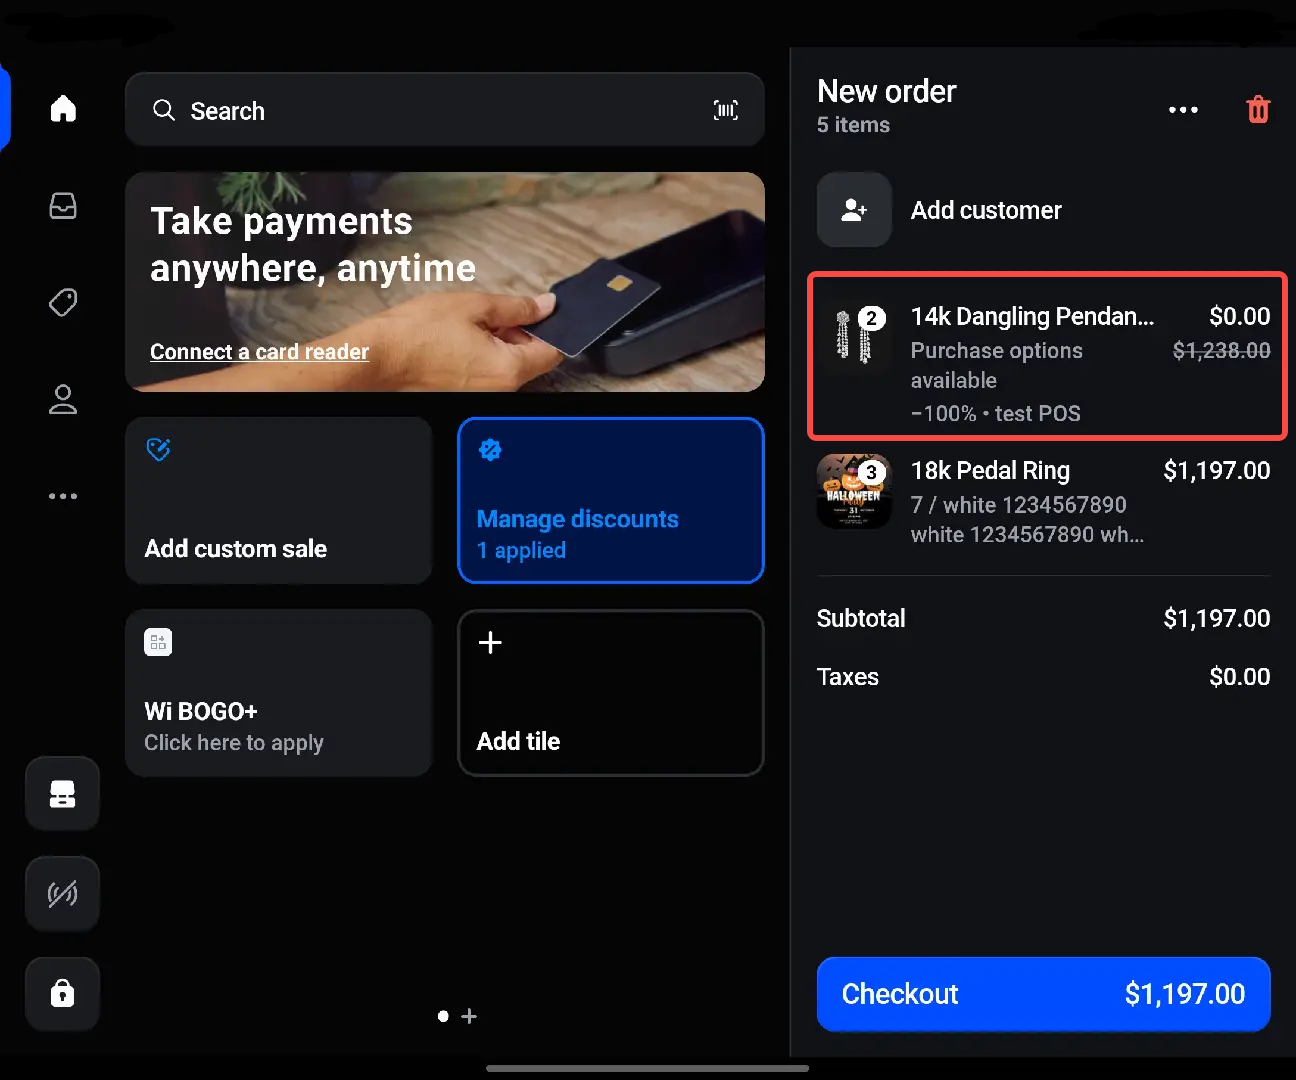
Step 3: Test the setup
- Add eligible products to the cart that meet the trigger conditions of your GWP campaign.
- Return to the Home screen on POS and select the Wi BOGO app.

- You will see the offer product appear along with the campaign name.
💡 Note:
• Due to Shopify POS limitations, if the customer hasn’t added enough trigger products that meet the campaign condition, the Wi BOGO+ app on POS will not display the campaign or the offer product to add.
• When the campaign is activated for POS or Both (POS and Online store), it will automatically switch to Manual mode.

• Campaigns enabled for POS can only apply to All customers (customer-specific rules are not supported).
