
How to Set Up Your Email Provider (SMTP) in Snap Preorder
By default, Snap Preorder sends emails to your customers using its own built-in email system — so everything works right out of the box without any extra setup.
However, if you want emails to be sent from your own email address (for example, [email protected]), or if you already have an email service like Gmail, SendGrid, or Mailgun, you can connect it to the app. This gives you more control over how your emails look and helps make sure they land in your customers' inboxes instead of their spam folder.
How to Set It Up
Step 1 — Go to Settings
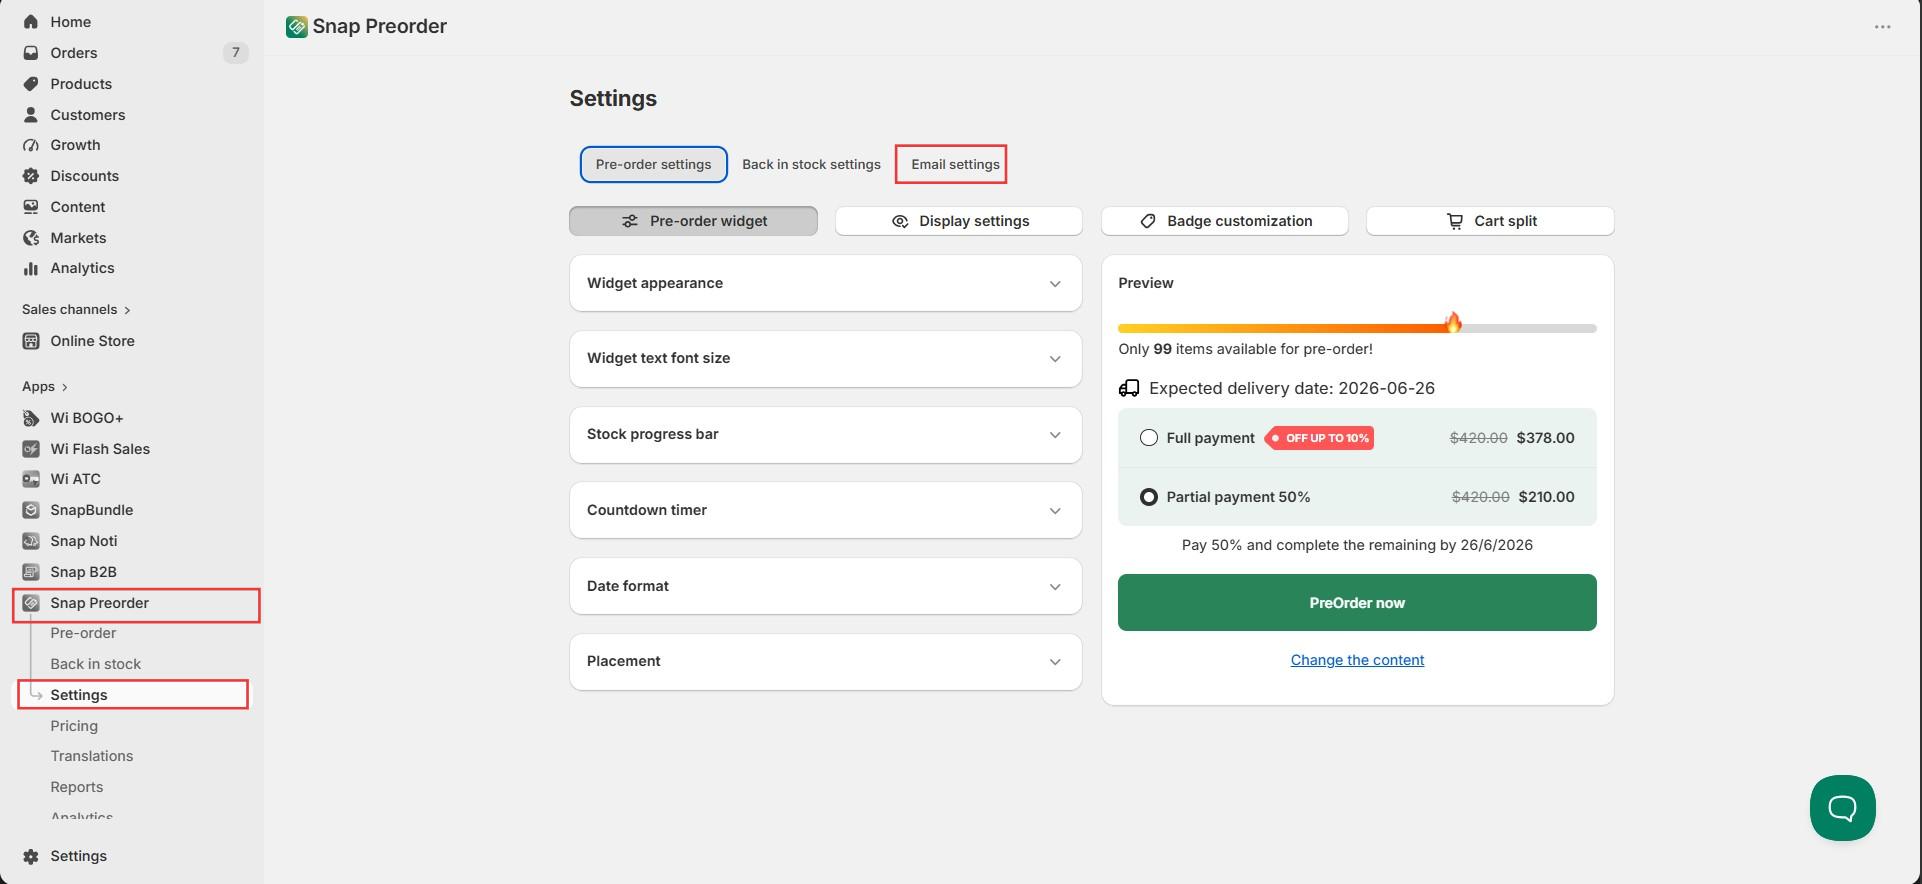
From the left sidebar in the app, click on Settings, then select the Email settings tab at the top.
Step 2 — Open Email Providers
You will see three tabs: Back in stock emails, Pre-order emails, and Email providers. Click on Email providers.
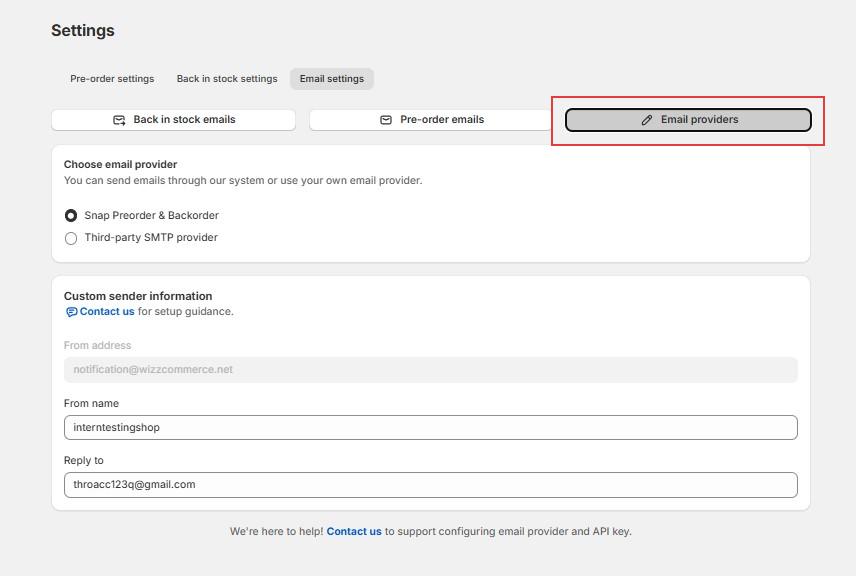
Step 3 — Choose your email provider
You will see two options:
- Snap Preorder & Backorder — emails are sent through the app's own system. This is the default and requires no setup.
- Third-party SMTP provider — emails are sent through your own email service. Select this option to connect your own provider.

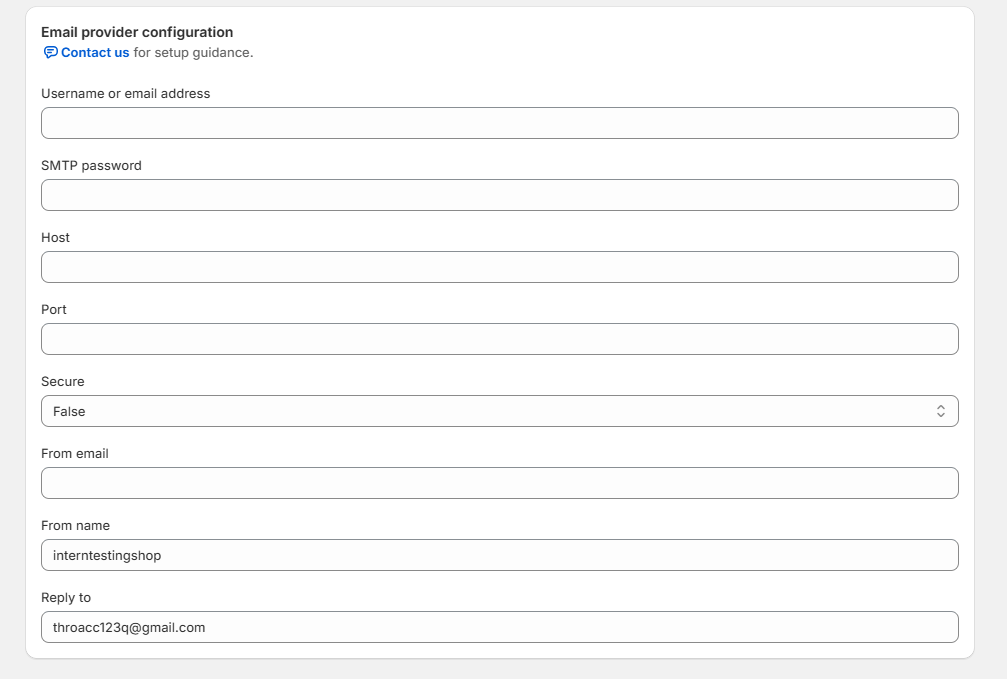
Step 4 — Fill in your SMTP details
Once you select Third-party SMTP provider, a form will appear. Fill in the following information (you can get these details from your email service provider):
- Username or email address — the email account you use to log in to your email service
- SMTP password — the password for that account (some providers give you a separate app password for this)
- Host — the address of your email provider's server, for example smtp.gmail.com for Gmail
- Port — usually 587 or 465, depending on your provider
- Secure — set to True if your provider requires a secure connection (recommended), or False if not
- From email — the email address your customers will see as the sender
- From name — the name that appears next to the email address, for example your store name
- Reply to — the email address customers will reply to when they respond to your emails
Step 5 — Save your settings
Once all the fields are filled in, save your settings. Your emails will now be sent through your own provider.
Not Sure What to Fill In?
If you are not sure where to find your SMTP details, check the help documentation of your email service provider. Most providers like Gmail, SendGrid, or Mailgun have a clear guide on how to get these settings.
You can also reach out to the Customer success team directly — just click the Contact us link on the Email providers page and the team will be happy to help you get set up.
Need more help?
If you encounter any issues or have questions, feel free to reach out to our support team via [email protected] or via our live chat - we're happy to help!